Componentes
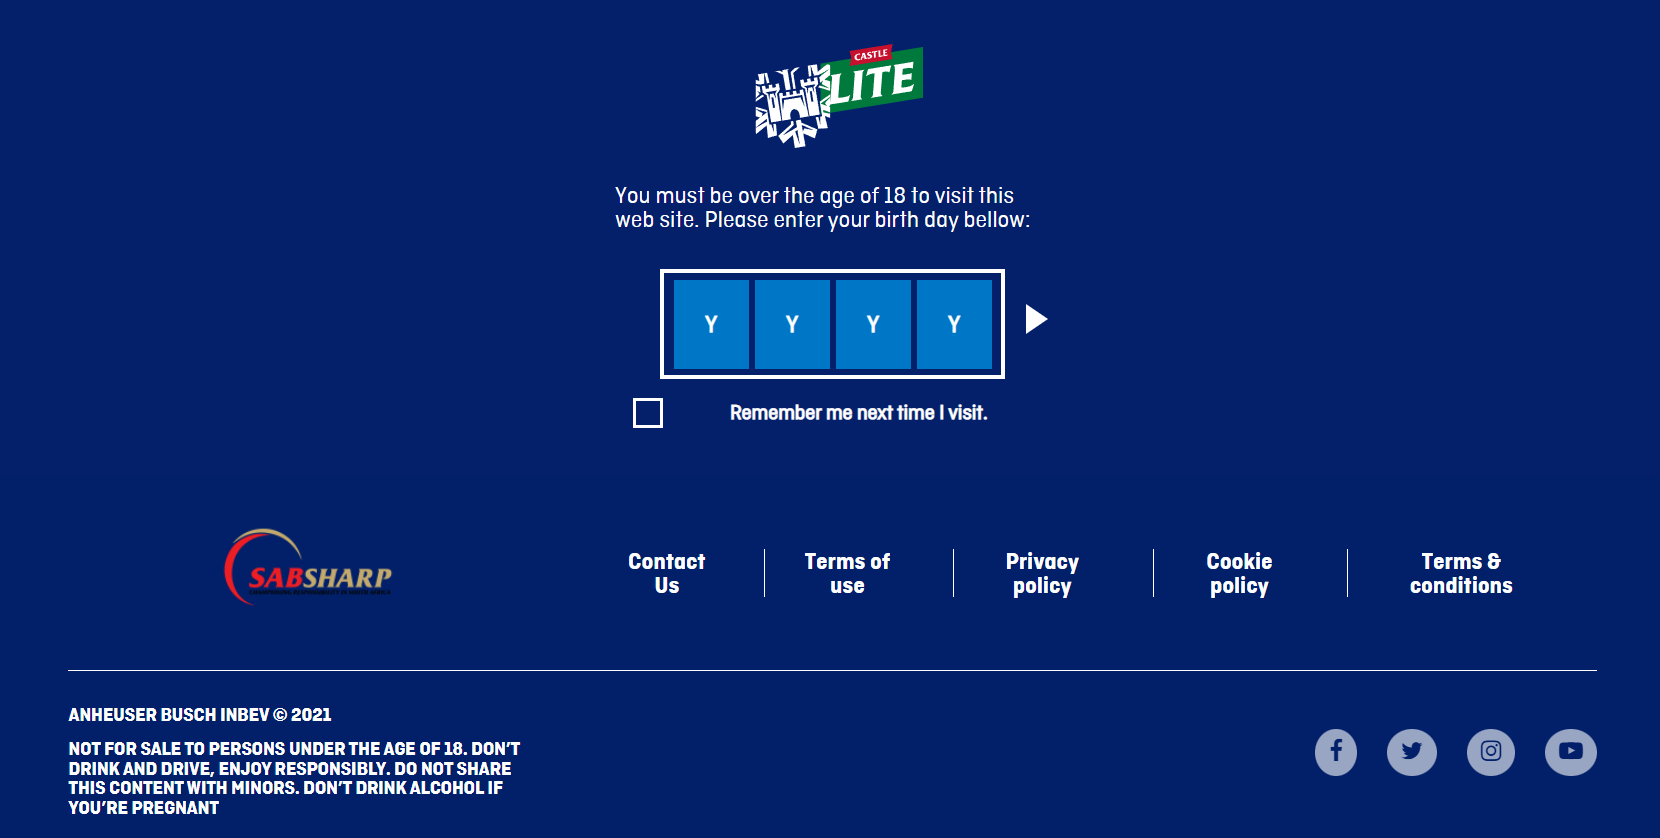
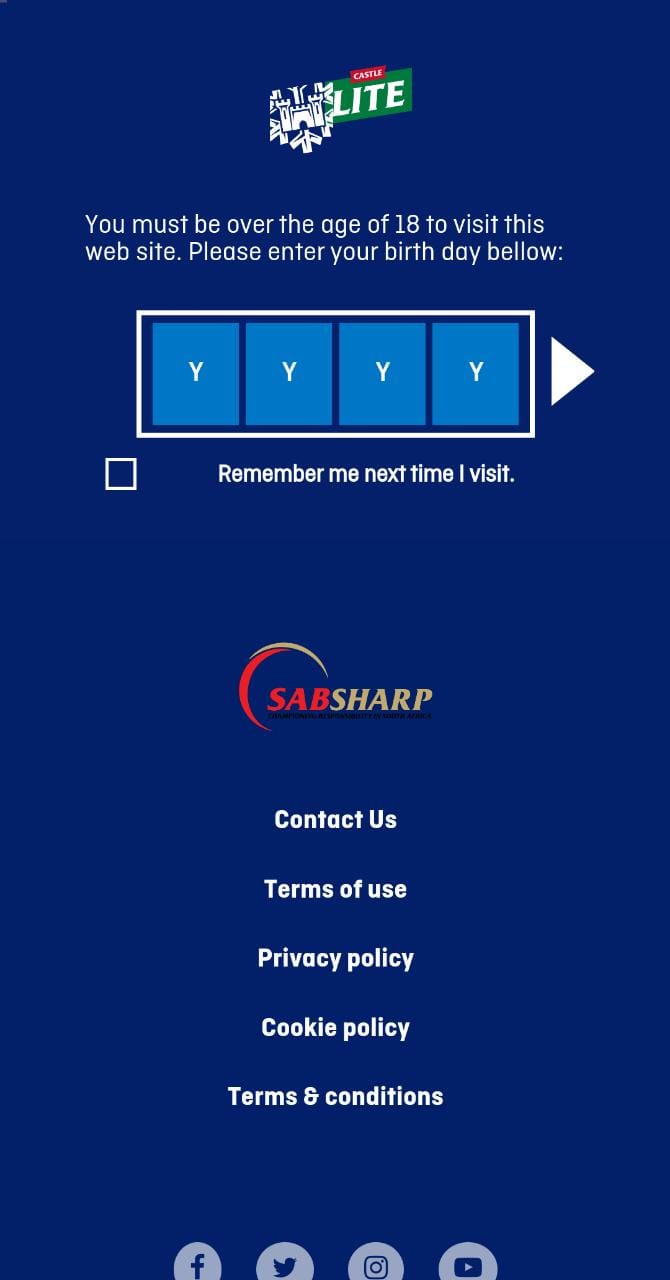
Smart Age Gate with Footer
An Age gate based on the user's year of birth. There is also an alternate version of this component without the footer called Smart Age Gate
Edited 2 years 10 months ago
Desktop

Mobile

Step by Step
1. Go to Site Studio > Templates > Master Templates, verify which template is signed as default, and select the edit option.
** Note: If you want, you can create a new template by clicking on “Add Master Template”, and after, set it as Default.
2. In the Layout Canvas, click on the “+” button, search for Smart Age Gate with Footer or Smart Age Gate in the Components list, drag and drop on the top of the Canvas, it needs to be above the other components.
3. Click on the "Save", to finish it.
Component Configuration
1. Access Content > Site Settings search for the “Age Gate Smart” item and click on the “Create setting” button.
2. Fill the fields with the requested information. Pay attention to the explanation text below each field to fill it correctly:
• Heading Title: Inform the title to present at the Age Gate.
• Accept checkbox: Inform a text for the “Remember me”.
• Image Alt: Inform an alternative text describing your logo. This field is necessary for accessibility resources.
• Image Title: Inform the title of your logo.
• Legal Age: Inform the legal age to access the website.
• Underage Link: Inform a link to redirect underage users.
3. Click on the “Save” button to finish.
**Note: To customize this component follow the Styleguide instructions


