

Components
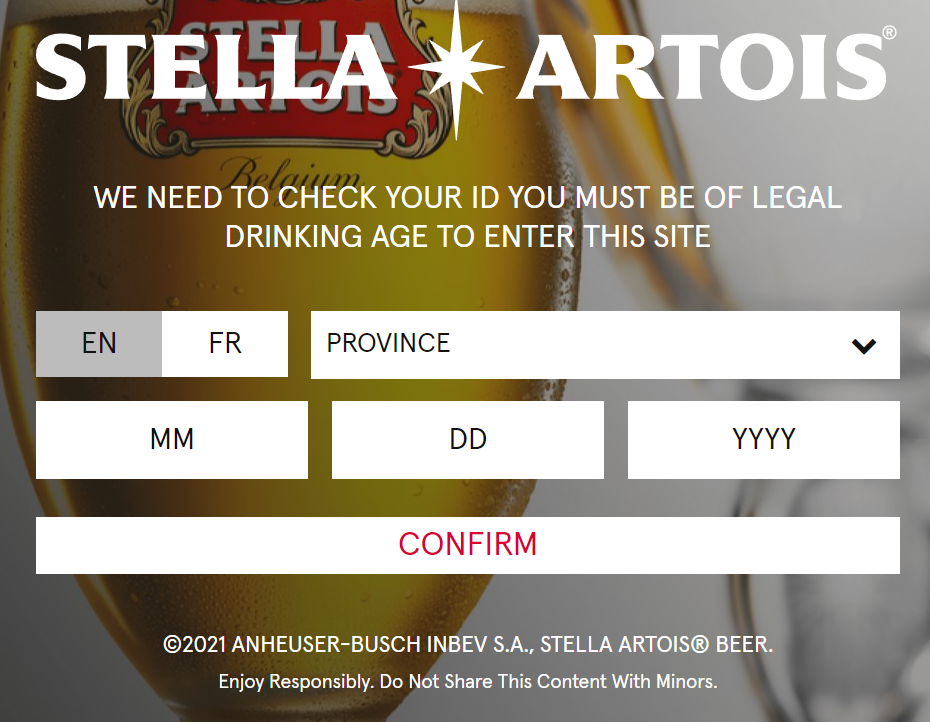
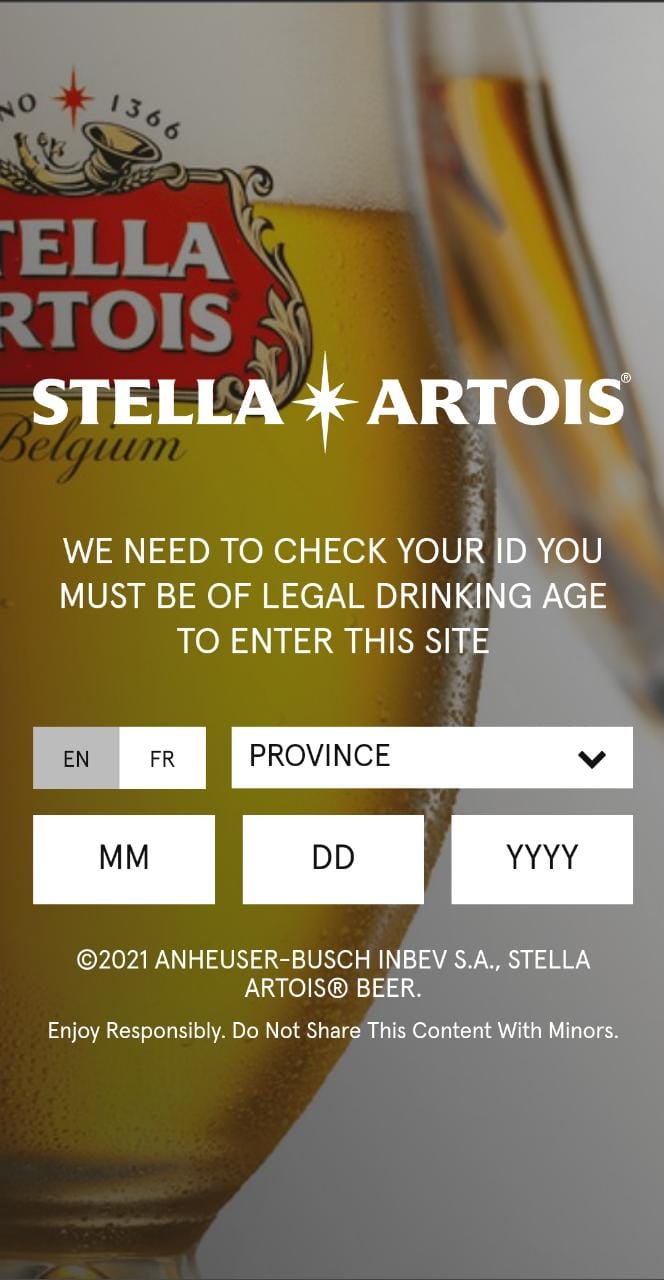
Age Checker
Sites which advertise content inappropriate for users under a specific age must have some kind of restriction. Using an Age Gate can ensure that your content will only be shown to the users which had their age checked.
Edited 3 years 7 months ago
Desktop
Mobile
Step by Step
1. Go to Site Studio > Templates > Master Templates, verify which template is signed as default, and select the edit option.
** Note: If you want, you can create a new template by clicking on “Add Master Template”, and then set it as the default template.
2. In the Layout Canvas, click on the “+” button, search for Age Checker in the Components list, and drag and drop it on the top of the Canvas. The Age Checker needs to be above the other components to work properly.

3. In the Layout Canvas, click twice on the component to open its settings.
4. Here you can change the color of different parts of the Age checker, just click on the field of color that you'd like to change and select the one you want.
5. To use an image as background, toggle the “Use image instead color” switch to "ON" and select the desired background image
6. If you want a solid color as a background instead, leave switch toggled “OFF” and choose the color of the background.

7. Save the changes by clicking on the “Apply” button.
Configuring the Component:
1. After this, access Content > Site Settings, search for the Age Checker item and click on the “Create setting” button.
2. Fill in the fields with the requested information:
• Image: Upload an image to be used as a logo (along with an alternative text) and set the header's text;
• Footer: Customize the top and bottom text blocks in the Age Checker
• Forms settings: set the requirements for the Age Checker
NOTES:
• The footer text field accepts HTML, so you can add hyperlinks;
• Regarding the position order of the user's date of birth fields, for the desired field to come first, it must be defined with the numbering "0", "1" to be the middle field or "2" to be the last field.
• To set the provinces, just go to: Structure > site settings entity > 21 > edit > age checker
• To Register the country: Structure > Taxonomy > Country Rules > Edit the information of country
3. To finish and save the changes, click on the “Save” button.
