

Components
Google Map Marker
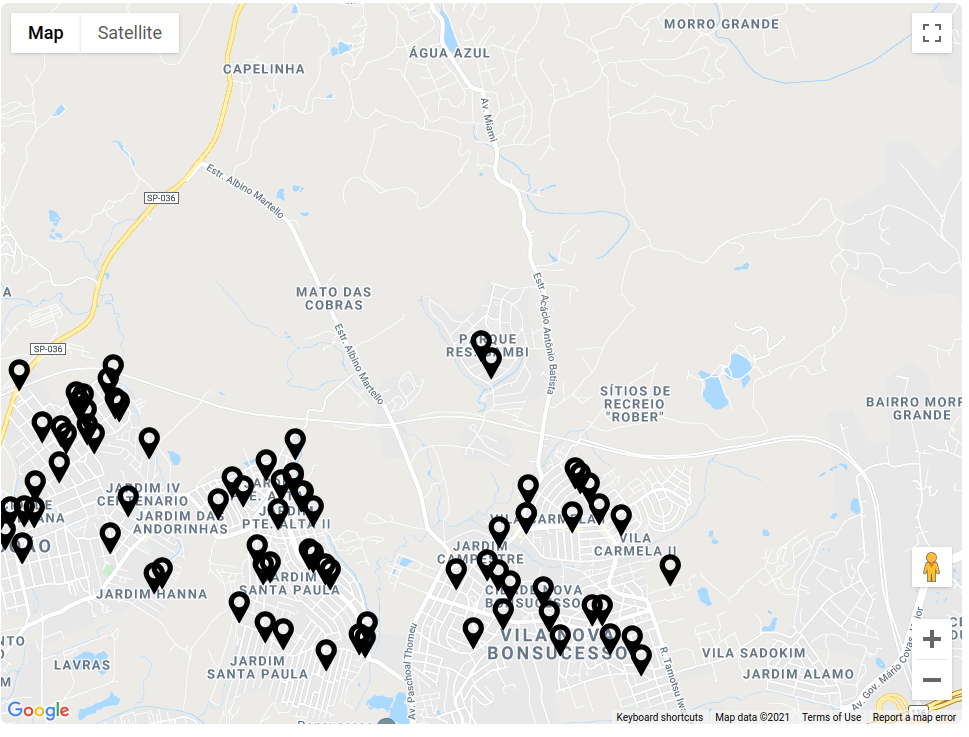
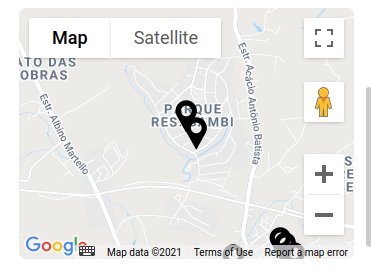
Display locations to the user with great accuracy and presentation by using a Google Map Marker
This component can be used for Distribution points and Authorized representatives.
Edited 3 years 11 months ago
Desktop
Mobile
Step by Step
Set the API Keys
For this component works properly, are necessary two APIs. Check the links and when you have the APIs Keys, follow the paths to configure.
• Maps JavaScript API (https://developers.google.com/maps/documentation/javascript/overview)
◦ Configure the Google Maps API key (/admin/cohesion/configuration/google-map-api-key).
• Geocoding API (https://developers.google.com/maps/documentation/geocoding/overview).
◦ Create a new provider(Geocoder providers - GoogleMaps) and inform the Google Geocoding API key (/admin/configuration/system/geocoder/geocoder-provider)
** Note: if you don't have these keys, and apply the Google Map Marker component, your page will break.
Configuring the Taxonomy:
To configure the Google Map Marker component first you need create a Google Map Marker: Category.
1. Go to Structure > Taxonomy, search for "Google Map Marker: Category", click on "List Terms" and after, click on "+ Add term".

2. Inform a name and a description for your new category, and click on "Save and go to list" to finish it.
3. Go to Content > Add Content > Google Map Marker and inform a Name, Address and select the Category that you created.

4. When registering, it is not necessary to inform Latitude and Longitude, only the address, preferably in the format that Google Maps understands.
5. Click on "Save" to finish it.
Configuring the Component:
1. In the Layout Canvas of the page that you want to add the Google Map Marker, click on "+", and search for the component.
2. Drag and drop in the position that you want and click twice on the component to configure it

3. Follow the instructions to set the configurations:
• Title: inform the name that will be displayed on the title.
• Description: write a short description for your map.
• Zoom: Zoom level determines the initial resolution of map.
• Custom marker image: Use these settings to define the image file that will represent the pin on the maps.

• Entity: Here inform the name of the Category that you create. This option is important because you can have several “google maps markers” for different places in the world, and with different proposals.

• View list stores: If you want to add a list of stores, select "On" and paste the link on the field.

4. Click on "Apply" to save it.
- • General
- • Background Color
- • Primary Color
- • Secondary Color
- • Border Radius
- • Border Radius Type
