Components
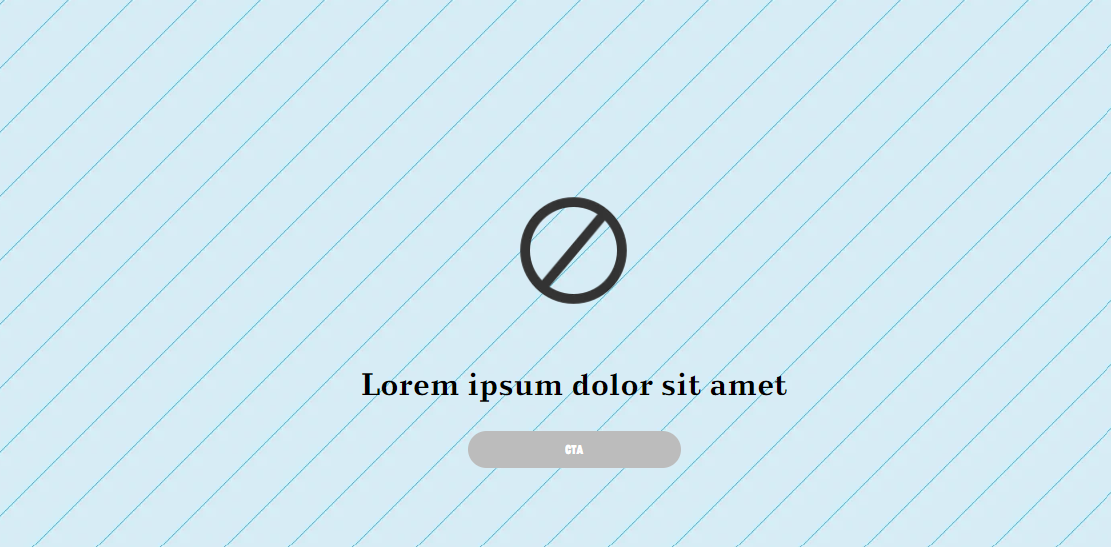
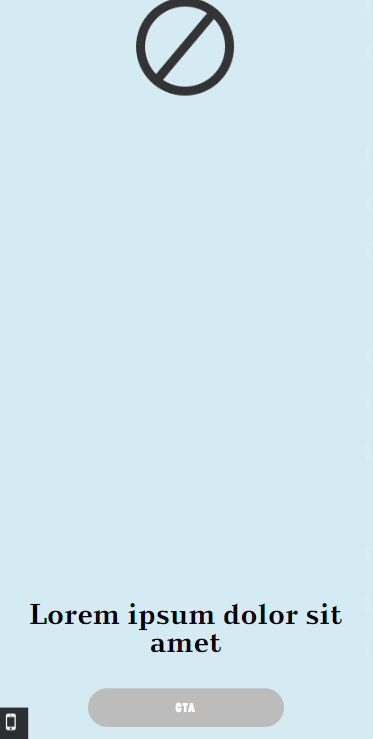
Banner Image - Type 4
Desktop

Mobile

Step by Step
1. At the page that you wish to add the Banner Image - Type 4 component, click the + button on the Layout Canvas;
2. Search the Banner Image - Type 4 component on the list, it is located in the "Content Components" category;
3. Drag and drop the component inside the canvas, and make sure to put it exactly where you wish to place it.
4. Click twice on the component, and select the options that you want:
Image
• Upload image: select an image file for desktop and mobile format.
• Overlay image: select "ON" if you want an overlay color on the banner.
• Website logo: if you want to display a logo on the banner, select "ON", choose an image and inform a link to a page.
Text and CTA configuration
• Banner text: write the text that will appear on the banner. You can format the font by changing the size, color, type, alignment, etc.
• Background: choose a color for the text area background. If you select a color option the image will be deactivated.
• CTA button: to activate the CTA button, inform the text label, choose a font option and a text color.
◦ CTA link: inform the redirect link for the button.
◦ Target: choose where your page will open, New Window or Same window.
◦ Button Style: choose your color options for the button.
Animated on view
• Animation settings: choose if you want the banner with a fading animation or none. For Fading Entrances, also select an animation type on the Animation list
• HTML Element ID: An identifier that must be unique throughout the site. Your goal is to identify the element when navigating anchors. Anchoring allows the current element to be accessed through links and/or buttons, as long as they belong to the same domain (site).
5. Click on "Apply" to save it.


