

Components
New Footer BR
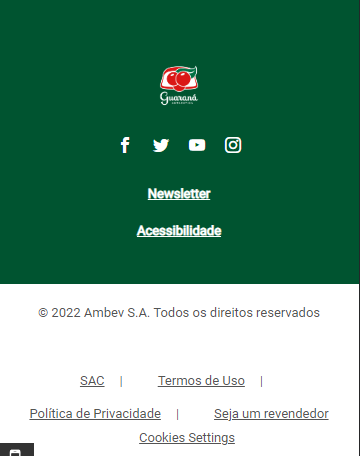
Desktop

Mobile
Step by Step
1. Go to Site Studio > Templates > Master Templates, verify which template is signed as default, and select the edit option.
** Note: If you want, you can create a new template by clicking on “Add Master Template”, and after, set it as Default.
2. In the Layout Canvas, click on the “+” button and search for New Footer BR in the Components list.
3. Drag and drop to the Canvas, it needs to be at the bottom, it’s the last component.

Customizing the Component
1. Click twice on the component, and select the options that you want.
• Show footer top: By disabling the "Show footer top" button the top block of the footer will be hidden. Keep it ON to display, the logo, social media icons, and menu links.

• Footer Logo: select ON if you want a logo on the footer, and choose the order (position) of the item in the footer.
• Social Media: by selecting ON you can activate the social media shortcuts on the footer. Also, select a position for the icons.
• Footer menu: this contains the shortcuts for other content on the site. Select ON to activate and choose the position in the footer. You can add a maximum of 4 links.
 **Note: To know how to add links on the footer check the topic "Adding Links on the Footer" in this content.
• HTML Element ID: An identifier that must be unique throughout the site. Your goal is to identify the element when navigating anchors. Anchoring allows the current element to be accessed through links and/or buttons, as long as they belong to the same domain (site).

2. To finish it, click on "Apply".
