

Components
Find a Store by Area
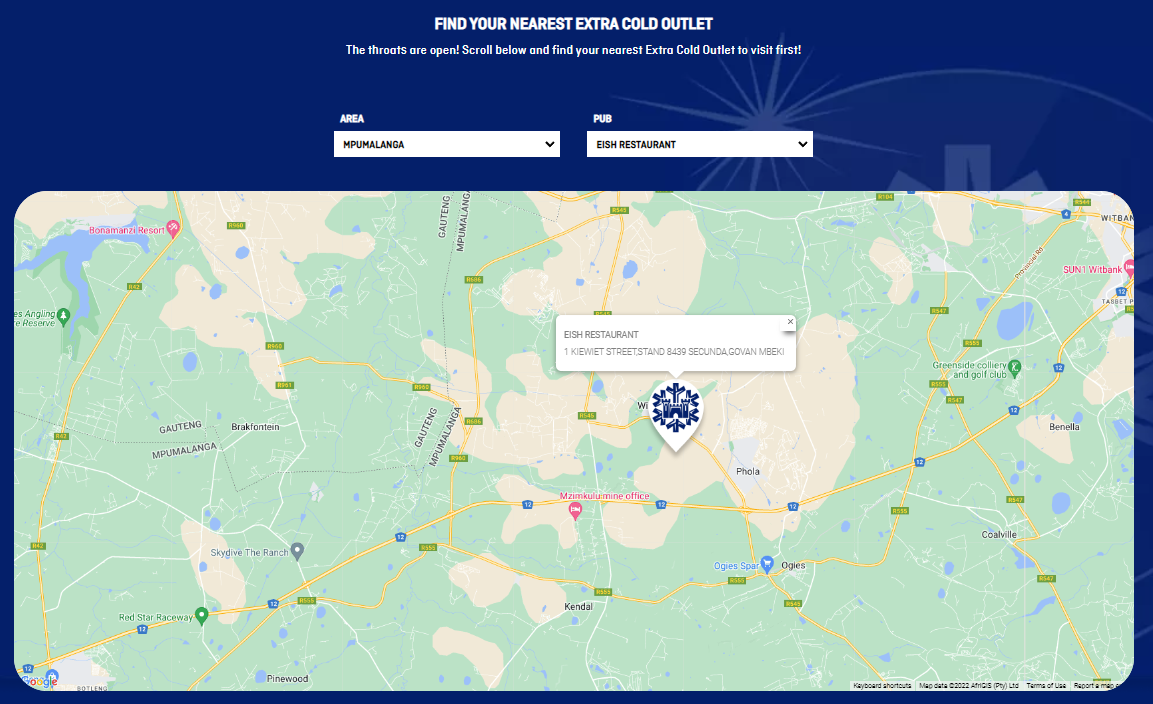
Desktop
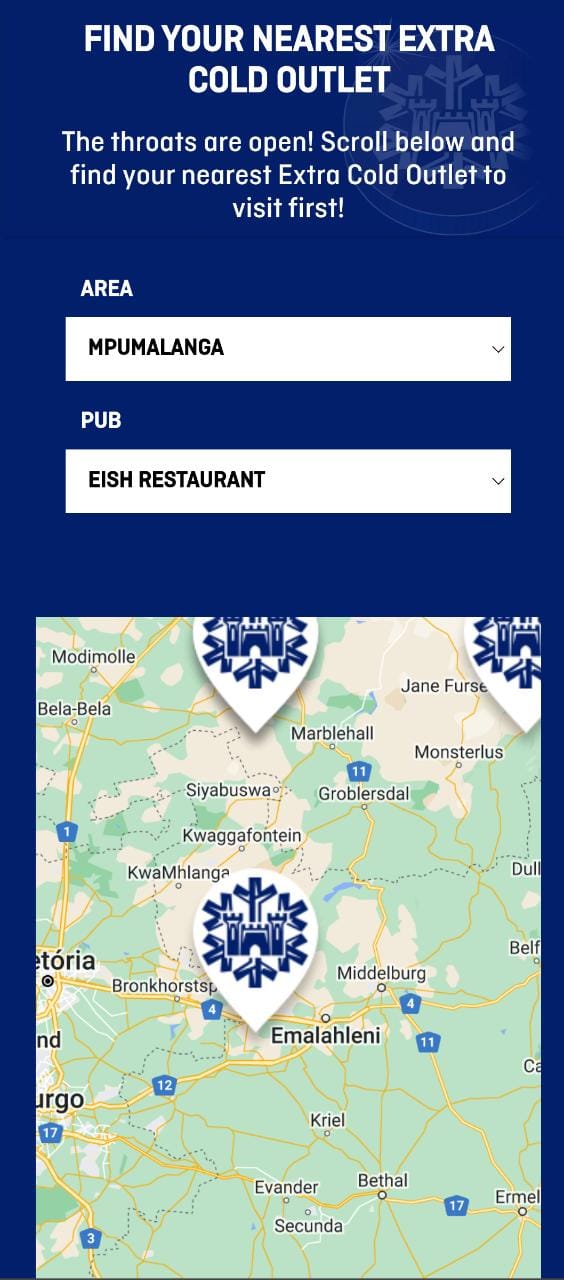
Mobile
Step by Step
Set the API Keys
For this component works properly, firstly, you need to set two keys: Basic Auth and Gmap. Check how to get these keys with your development team.
When you have the keys, follow this path to register them:
• Gmap: go to /admin/cohesion/configuration/google-map-api-key.
• Basic Auth: go to /admin/config/gmap-config.
Configuring the Taxonomy:
To configure the Find Store by area component you need first create a Google Map Marker category.
1. Go to Structure > Taxonomy, search for "Google Map Marker: Category", click on "List Terms" and after, click on "+ Add term".
2. Inform a name and a description for your new category, and click on "Save and go to list" to finish it.
3. Now, search for "Google Map Marker: Store Area", click on "List terms", inform a name and an address. You can add Latitude/Longitude and description, but it's not mandatory.
4. Go to Content > Add Content > Google Map Marker and inform a Name, Address and select the Category and the Store Area that you created.

** Note: you can fill the fields Description, Image, Map link, or Latlon but they are not mandatory.
5. Click on "Save" to finish it.
Configuring the Component:
1. In the Layout Canvas of the page that you want to add the Find Store by Area, click on "+", and search for the component.
2. Drag and drop the component, in the position that you want and click twice on the component to configure it.

3. Follow the instructions to set the configurations:
• Zoom: Zoom level determines the initial resolution of map.
• Custom marker image: Use these settings to define the image file that will represent the pin on the maps.

• Category: Here inform the name of the Category that you create. This option is important because you can have several “google maps markers” for different places in the world, and with different proposals.

** Note: this setting is necessary to relate all “google maps markers”. Use according to your need.
• Default Area: Set the initial value for the first filter. This means when the page is loaded the first filter it’s already come filled.

• Form Colors: choose colors for the border, background and label of the form.

• Map edge image: In this section, you can set the map image border(desktop and mobile), and also define the height of the map on mobile and desktop.
4. Click on "Apply" to save it.
