

Components
Footer [Landing Page]
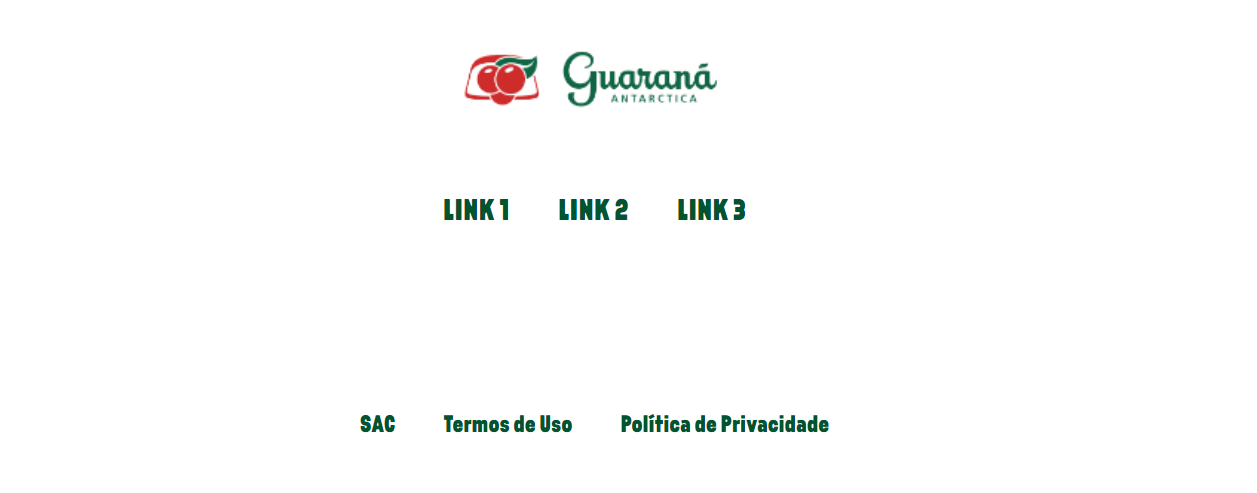
Desktop
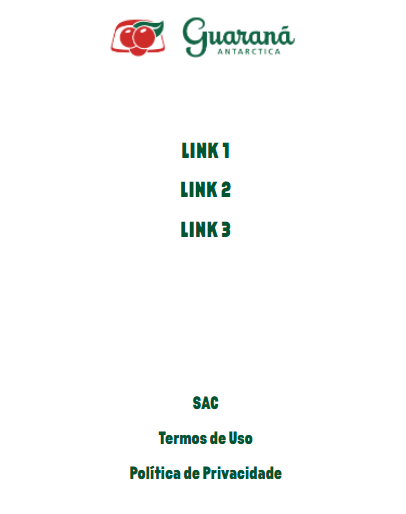
Mobile
Step by Step
1. Go to Site Studio > Templates > Master Templates, verify which template is signed as default, and select the edit option.
** Note: If you want, you can create a new template by clicking on “Add Master Template”, and after, set it as Default.
2. In the Layout Canvas, click on the “+” button and search for Footer[Landing Page] in the Components list.
3. Drag and drop to the Canvas, it needs to be at the bottom, it’s the last component.

Customizing the Component:
1. Click twice on the component, and select the options that you want.
• General:
◦ Background color: choose a color for the footer background.
◦ Font color: choose the color of the font.
◦ Font color on hover: choose a color for when the cursor is positioned on the text.
◦ Footer message font color: choose a color for the text to be positioned on the bottom of the footer.
◦ HTML Element ID: An identifier that must be unique throughout the site. Your goal is to identify the element when navigating anchors. Anchoring allows the current element to be accessed through links and/or buttons, as long as they belong to the same domain (site).

• Logo: select a logo image for the footer.

• Menu:
◦ Link text: inform the text for the link, this is a label for the link.
◦ Link to page: inform the link to redirect the page when the user clicks on it. Paste a URL for external pages or search an internal page by the name.

** Note: you can put how many links you want on the footer, just click on "+Add" and fill the fields.
• Social Media:
◦ Name: inform a name for the social that you want to add.
◦ Social Icon: select on the list an icon to represent social media.
◦ Social link: paste the URL of your social media page.
 ** Note: you can put how many links for social you want on the footer, just click on "+Add" and fill the fields.
• Legal Items:
◦ Link text: inform the text for the link, this is a label for the link.
◦ Link to page: inform the link to redirect the page when the user clicks on it. Paste a URL for external pages or search an internal page by the name.
◦ Has Language Selector: choose if you want a language selector on the footer. To know more about multilanguages sites, check the specific instructions.

• Footer message: write a text for the footer message, it is to positioned on the bottom of the footer.

2. Click on "Apply" to save all your customizations.
